How To Make a Webflow Website
As an increasingly popular choice for creating small business websites, the Webflow website builder makes it easy to create a professional site without needing to know how to code.
This Webflow guide provides step-by-step instructions on how to create a business website using the Webflow editor. Follow these simple instructions to build your Webflow website in less than a day!
Still looking for the right website builder for you? Check out our Best Website Builder of 2024 review.
Before You Begin
Before you start building your business website, take a little time to create a plan for its overall design. As tempting as it is to jump right into creating a website, having a solid plan will make it easier to achieve your overall goals.
6 Steps to Make a Webflow Website
The Webflow website builder is a useful platform for creating a wide variety of business sites. From pulling together a basic ecommerce store to writing a great blog, Webflow has the tools to help you shine. Below, we will walk you through the six steps needed to craft and publish your Webflow website.
Skip Ahead
- Sign up for Webflow
- Answer Webflow's Questions
- Choose a Template
- Name Your Website
- Customize Your Website
- Preview and Publish Your Website
Step 1: Sign up for Webflow
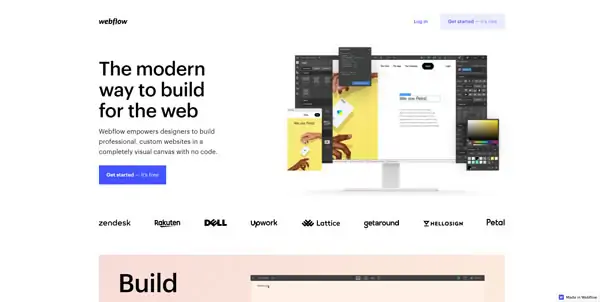
To get started, visit webflow.com and click on the “Get Started - it’s Free” button.
You can sign in with a Google account or an email address, and then you’ll need to create a password with a minimum of 10 characters. It must include at least one uppercase letter, one lowercase letter, and one number. Then, click on the “Create Account” button.
Step 2: Answer Webflow's Questions
The Webflow platform will then ask you a series of questions, starting with the name you want Webflow to use to greet you.
You’ll then reach a page with this message: “We've got a couple of quick questions. They'll help us tailor your experience with Webflow.” Click on the “Let’s go” button.
The next page will ask you, “What best describes your role?” Check the box next to the answer that best fits your role, and then click on the “Continue” button. The options include:
- Web Designer
- Product Designer
- Developer
- Marketer
- Entrepreneur
- Other
The next page will ask you, “Who will you be building websites for?” Check the box next to the answer that best fits your purpose for the website, and then click on the “Continue” button. The options include:
- Clients, as a freelancer
- Clients, as part of an agency
- The company I work for
- My business
- Myself
Next, Webflow will ask you, “Do you have experience building websites?” Check the box next to the answer that best fits your experience, and then click on the “Continue” button. The options include:
- Never built
- Used website builders
- Some experience
- Expert
The next page will ask, “What do you want to build today?” Check the box next to the answer that best fits the kind of website you want to create, and then click on the “Finish” button. The options include:
- Business site
- Ecommerce store
- Portfolio
- Blog
- Other
- I’m just testing Webflow out
On the next page, click on the “+New Project” button.
Step 3: Choose a Template
You’ll now reach a page with a variety of templates you can use to create your website. The price of each template appears in the bottom-right corner of each image pane.
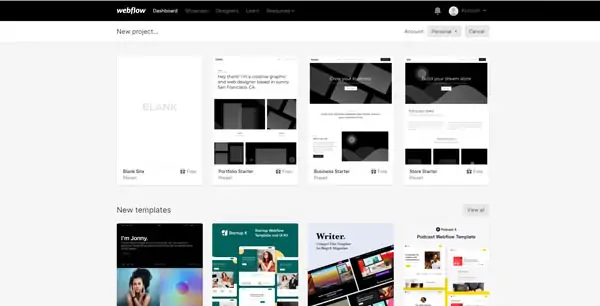
Webflow groups its templates into categories, such as “New Templates,” “Free Templates,” “Ecommerce Templates,” “Agency Templates,” and more. To view additional templates within a specific category, click on the “View All” button above that category.
When you find a template you like, click on it to open a preview of the pages built into that template. An overview of its included features and examples of recent websites using that template also will appear.
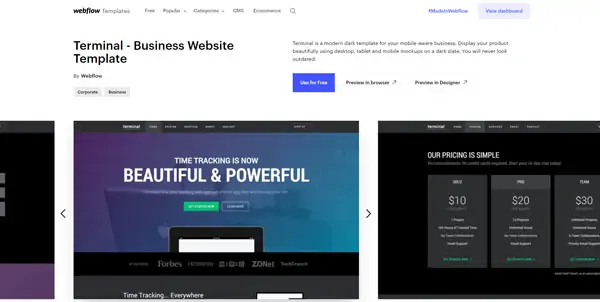
In addition, you can see how the template will look to visitors by clicking on the “Preview in Browser” button and how it’ll look as you design your website by clicking on the “Preview in Designer” button.
If you decide to use this template, click on the “Use for Free” button.
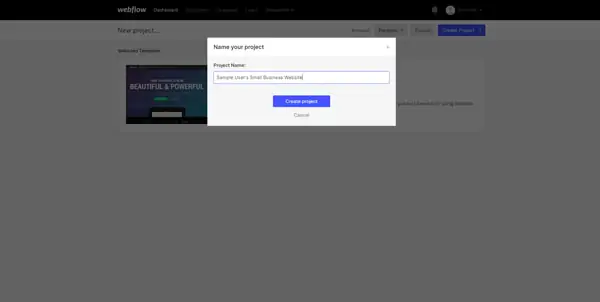
Step 4: Name Your Website
Webflow will now prompt you to name your website in a “Name your project” pop-up window. Choose a name, type it into the text field, and then click on the “Create Project” button.
Step 5: Customize Your Website
You can now customize your new website with your desired text, photos, special effects, additional pages, and more.
For an in-depth tutorial on how to perform these actions, check out our How To Use Webflow guide.
For more tips and tricks on what elements a successful business website will need, refer to these articles:
Step 6: Preview and Publish Your Website
Once you finish customizing your new website to your satisfaction, you can preview how the site will appear to visitors by clicking on the “Toggle Preview” icon in the upper-left corner (it looks like an eye). When you’re satisfied with your site’s appearance, click on the “Publish” button next to the spaceship icon in the upper-right corner of the design dashboard.
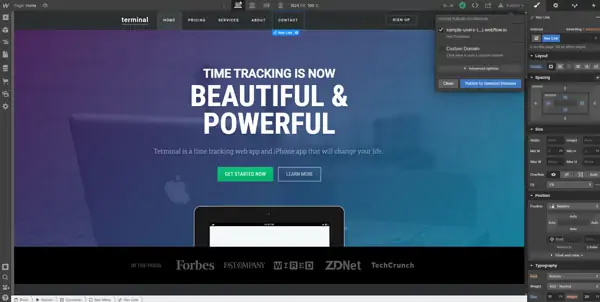
This will open a drop-down menu that provides the option to publish the site live on the internet. If you signed up for a paid Webflow plan and entered your payment information, you also can create your custom domain name here and link it to your new website.
Finally, click on the “Publish to Selected Domains” button. Congratulations! Your small business website is now live.
Final Thoughts
Creating a Webflow website for your small business is fairly easy — even if you have no coding experience. Webflow offers eye-catching website templates with many customization options to help your business create an impactful online presence.
Learn how to add unique functionality to your website by following our How to Use Webflow in-depth guide.
Get Started With Webflow
Webflow is easy to use and has what most small business owners need to build a professional website. Begin building your Webflow website for free by clicking the button below.